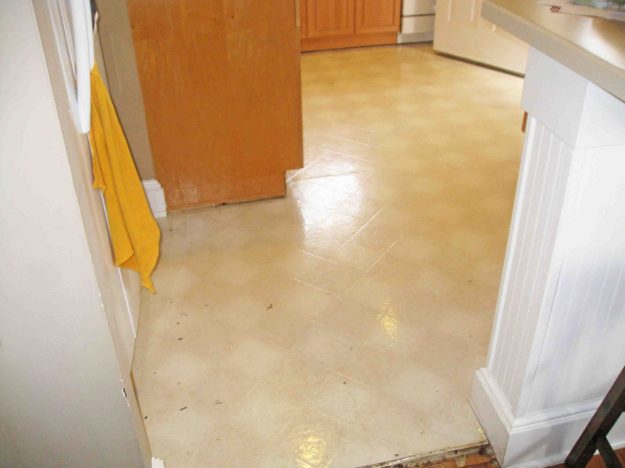
When we first bought our house, there was some pretty thick carpet in the dining room. Between the foam underlayment and the carpet, the step up to the kitchen flooring wasn’t noticeable. When we removed the carpet, the tripping began. Each time the kitchen was updated in the past, the new flooring was installed right on top of the old flooring. This inevitably led to a pretty major tripping hazard. We ended up having to use 2 different thresholds in order to build up to the height of the kitchen flooring. It left us with a little eyesore that looked something like this:
The unsightly double-threshold was just one of the reasons we decided to update our kitchen flooring during the remodel. The quarter round and floor were starting to look weathered and didn’t fit in with the rest of the house anymore.
 When we removed the two thresholds, this is what it looked like:
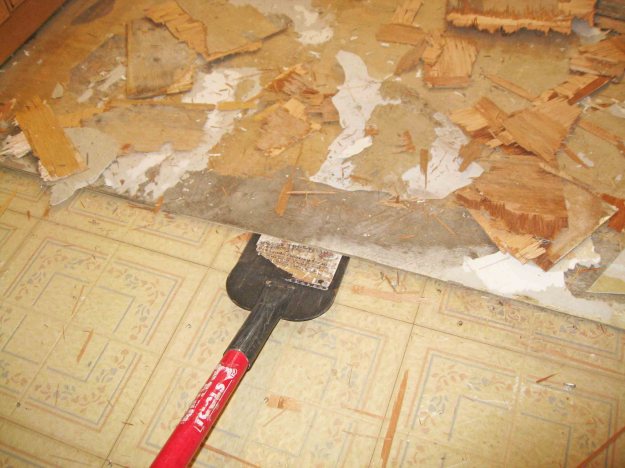
Upon closer inspection, this is what we found.
What’s missing from the above photo is the additional sub-floor that is hiding between the two linoleum layers. That means that there was 6 layers of flooring in some areas! While most people would be excited to see hardwoods running underneath all this flooring, we knew that wasn’t actually the case. Our ceiling is exposed in our basement, so we were able to see the following:
Yes, some areas have hardwoods while some just have sub-floor running underneath it. There goes the original idea of us refinishing the floors…
Our next step was having this flooring tested for asbestos. Our home was built in 1925, so we knew that there was the possibility that one of these several layers could contain the nasty stuff. While there are big debates on asbestos, and whether it is safe to remove when you are not creating dust, we decided to play it safe and get it tested. We cut a 1″ piece of each layer using an exacto blade and dropped it off at EMSL for testing. You can do all kinds of crazy tests, but we went with the most basic that just gives a positive or negative reading for asbestos. Testing is not cheap, but it definitely gives you peace of mind.
About a week later, I received an email from EMSL proving that I was a monkey’s uncle and there was no asbestos in any of the layers of our flooring. I was shocked, I have no idea how this happened.
We started off by removing the quarter round that was around the edges of the flooring. We used an exacto blade to cut the caulk that connected the quarter round to the cabinets first.
Then we used a small crow bar to pry the quarter round off.
The floating floor came up quite easily. We used the mini crow bar to pop up one tile, and then it was very easy for the entire row to lift out. Taking out this layer of flooring took a total of 30 minutes tops.
When we lifted up the floating floor, we found this beaut below.
Then we used our floor scraper to wedge it between the linoleum and plywood base. It was pretty easy to lift up in large chunks.
We used that same floor scraper to lift up the plywood base. It was nailed in every couple of feet.
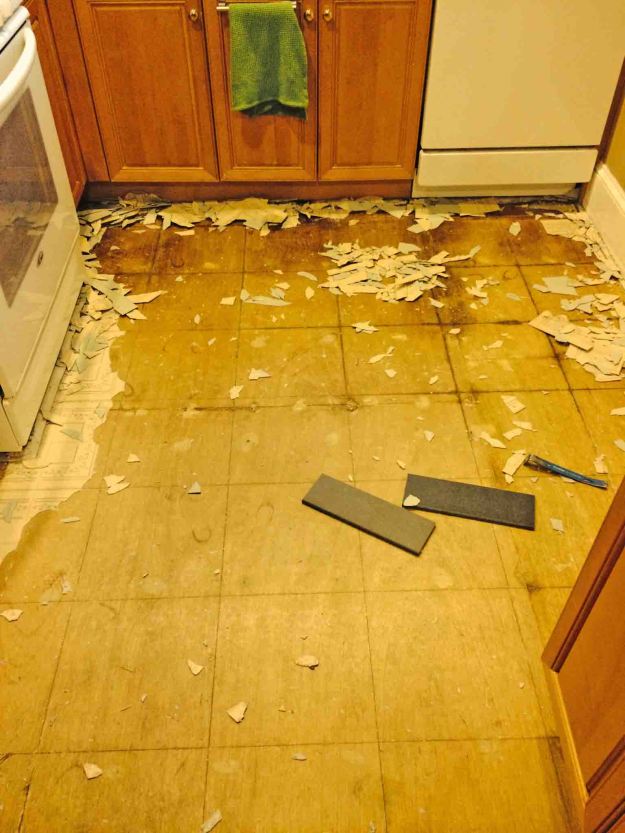
Finally we got to the bottom linoleum layer…aka Home on the Prairie. It was here we took a break, as we came to a standstill because of these staples. They had been used to attach the plywood I had just pulled out to the linoleum and sub-floor below it.
Normally I would just use needle nose pliers to remove staples, but that didn’t work here. These suckers were 1.5″ long, and every time we tried to use pliers, the staples broke apart. I went to Home Depot and picked up these nippers, and they are a miracle! Seriously my new favorite hand tool! They will pull out anything.
All you need to do is grab the staple closer to the floor and rock the nippers back and forth until the staple is removed.
It did the trick, but there was still a ton of staples. This was actually from a 2′ x 2′ area-
It took a good day just to remove all the staples. Then I started to use the floor scraper again to pull up the linoleum. This layer tended to chip apart instead of coming up in big chunks. In certain areas, I even had to use a chisel to get under the linoleum if I couldn’t catch a good edge with the floor scraper.
Also next time I’ll be a little more aware of what shoes I am wearing. Linoleum is sticky stuff and the smaller chunks will get stuck to the bottoms of your shoes.
While removing all the flooring we noticed that the cabinets were actually installed over 2 linoleum layers and 1 layer of the plywood. We will have to remove those layers once we have the cabinets removed.
All in all this would have taken an entire weekend if I hadn’t broken it up over a week and a half. It was a pain in the butt but I can’t tell you how great it already feels to not have to step up into our kitchen!


