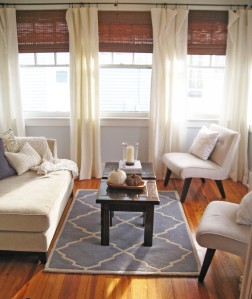
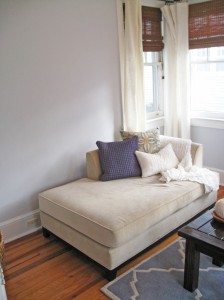
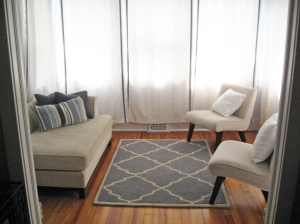
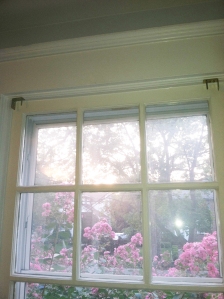
Last we left off in the Ladies’ Lounge, the windows were looking a little too Panda friendly. Bamboo Galore! I wanted to add curtains to help soften the lines of the bamboo and break it up so it wasn’t one big wall of brown. The only issue is that there are 7 windows in this room, so I knew buying curtains was going to be a pretty big expense. Especially when I decided I liked the look of Pottery Barn’s Emery Linen Drape. 7 panels of those would have cost $973! If I had chosen to go down the store bought path, I would have also had an issue with the width of the panels. The windows are only 30” wide, and I didn’t want them to be overwhelmed by 2 -54” panels framing out each window.
I went to Joann’s and took a look at all the linens they had and found something that is very similar-Sew Classics Linen. I waited until the linens went on sale, and then bought the 19 yards needed to make the 14 panels that would be used for these 7 windows!
Supplies & Tools Needed
- 19 yards of Sew Classics Linen in Papyrus
- Sewing Machine
- Ivory Thread
- Straight Pins
- Bronze Curtain Clip Rings
Total Cost
- 19 yards of Sew Classic Linen in Papyrus- normally about $250, I got 50% off- $123.50
- 3 packs of curtain hooks- $20.91
Total Cost: $144.41
How To:
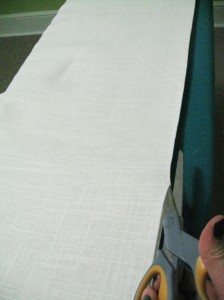
1. My windows are approximately 30” wide by 63” tall. Since I wanted each panel to just graze the floor, I needed them to be 90″ tall. This can completely change based on your own window size, so be aware. I first cut the 19 yards down to 7 lengths based on the height that I needed.
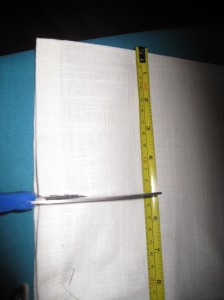
2. Since I knew that my curtains were going to be more decorative rather than actually pulled close, I specifically bought the amount that I did so that I could get two panels out of the width of one bolt. My fabric was 54” wide which worked perfectly because I didn’t want the wall of windows to be overwhelmed with so much fabric. You might want to only use the width of the fabric for one panel instead of two. At this point, I cut my fabric down the fold line in half.
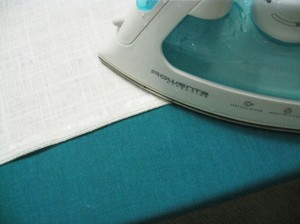
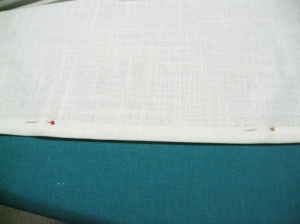
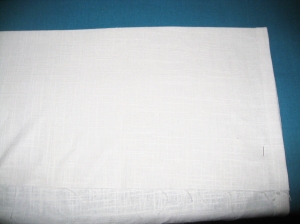
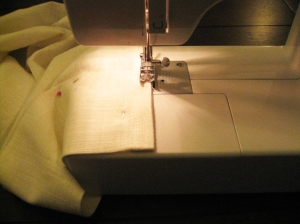
3. In order to hem the sides, I folded it over about a quarter of an inch and ironed. Then I folded it over again about ¾”. All of this was done by eye, I did not measure or mark off. After everything was ironed, I pinned it.
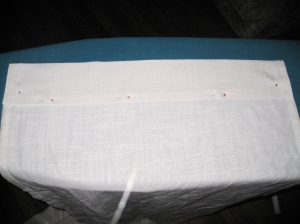
4. I hemmed the top as well. I folded it over a quarter of an inch and ironed. Then I folded it over again 2” and ironed and pinned.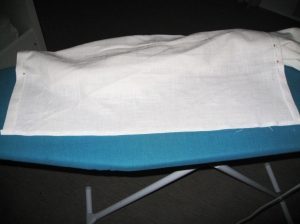
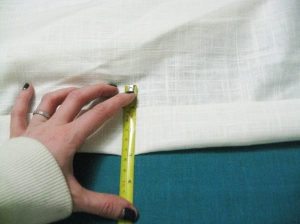
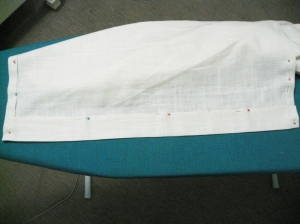
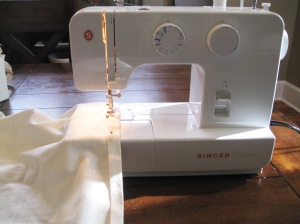
5. Sew! This is the part that seriously took forever! With 14 panels that means there were 56 sides that needed to be sewn!
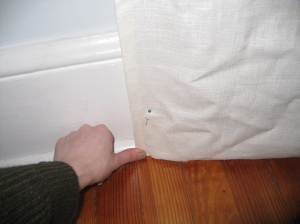
 6. Then I used curtain ring hooks to place the curtains on the rods to see where they needed to be hemmed to. I used these Bronze Curtain Clip Rings that I found at Lowes. Seriously these are the cheapest that I could find anywhere, and they were half the price of the competition! Awesome when you need it for 7 windows! I pinned up the bottom of the curtain so it was flush with the floor where it touched the quarter round.
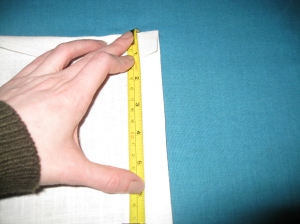
7. After pinning the bottoms of the curtains, I ironed along that fold to create a crisp crease. Then unfolded it, and cut the bottom off at 5” from the folded line. Then using a tape measure, I folded 1” in. This created a hem stitch at 4” from the bottom. I then ironed this fold as well.
8. Next I sewed the bottom of the 14 curtains along with the edges and top of the curtain hem.
9. Ironing….lots and lots of ironing. I did this in front of the tv so it wasn’t so boring.
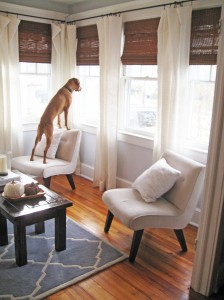
10. Hang and enjoy! Or let your dog enjoy!


